“Any one who can learn to write, can learn to draw,” John Gadsby Chapman wrote in his 19th-century instruction manual, “The American Drawing-Book.” This can-do sentiment dates back to an era when lead pencils and chalky pastels were standard. Today’s artists — and wannabe artists — also have the option of easy-to-use digital gadgets.
If you mainly doodle, your device’s notes app may suffice. But if you’re serious about sketching in pixels as a way to relax, to focus and to express your creativity, a responsive art app with a suite of precision tools is a more fulfilling choice. Here’s how to get started, even if you don’t know how to draw (yet).
Step 1: Select Your Stylus
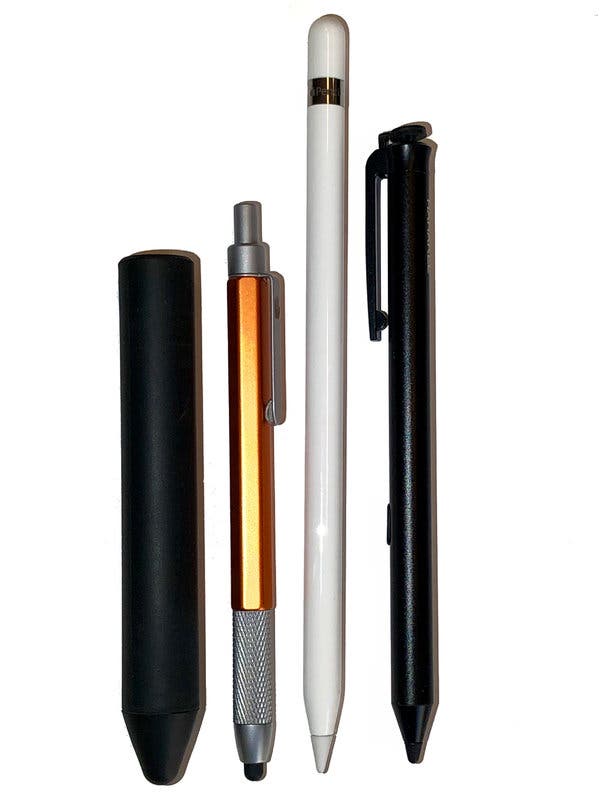
If you want fine lines, you’ll need to ditch your fingertip for a stylus. But not all styluses are the same. Nor are their prices. Inexpensive models use simple capacitive touch to interact with the screen, and pricier styluses have wireless connections and pressure-sensitive tips. Just make sure your choice works with your device.

If you want designed compatibility, Microsoft has its $100 Surface Pen for its Surface tablets, and Google’s $99 Pixelbook Pen is made for its Pixelbook. Have an iPad? Wirecutter, a product review site owned by The New York Times, recommends the Apple Pencil; prices range from about $99 to $129, depending on the Pencil model.
If those options don’t fit your budget, Wirecutter also likes the $10 Adonit Mark, which works with any touch screen. Adonit makes several stylus models in a range of prices, and the Friendly Swede sells a 4-in-1 Stylus for $25 on Amazon.
Step 2: Choose a Drawing App
Visit your app store and search for drawing programs. For the cost-conscious, Autodesk SketchBook is a versatile app that can take a project all the way from a basic line drawing to a finished illustration with color, textures and shadows. It’s now free for individual use and runs on Android, iOS and Windows 10 touch-screen devices.

Using Windows 10? Microsoft’s Paint 3D (or classic Paint) offers basic drawing tools and a shape library for making art from stock objects.
Step 3: Dive In
Some drawing apps can feel overwhelming at first, especially if you’re new to making digital art. Look for an integrated tutorial to point you to the pen, brush, shape and color tools tucked under the menu icons. Then just start freestyling with your stylus.
It may take a while to get the hang of the software, but be patient and allow yourself time to explore and experiment with your digital art supplies. (Need more help? Jump to Step 5.)
Step 4: Take Art Lessons
If you have the tools but fear you lack the talent, let technology be your teacher. Look for “drawing lessons” in the Education section of your app store to get you started with the fundamentals and build your fine motor skills.
ShadowDraw (free, with new lessons as in-app purchases) for the iPad and Apple Pencil is one program that teaches drawing forms by having you follow along the animated pen strokes of another artist in an updated take on the “copying the masters” approach.
Although it can be finicky, SketchAR is another inventive program with a collection of instructional aids; it’s free with in-app purchases (for extra lessons and tools) and works on Android, iOS and Microsoft HoloLens. For drawing directly on the screen, SketchAR includes a library of animated lessons to follow. The app can also convert your photos into outlines that you trace with your stylus to train your hand and eye.
Step 5: Read the Friendly Manual
Feeling lost in a screen of cryptic menus and complex tools? Look for support-site guides that walk you though less-obvious tasks — like varying the line weight of the pencil tool, working with image layers or adjusting the program’s sensitivity to the stylus.

